This topic contains the following sections:
Add or Edit a User
When you add or edit an application user, you also assign the user permissions that determine what the user can do in the application.
- Click the Administration tab.
- Click Users in the left-hand navigation bar.
- Do one of the following:
- To add a new user, click Add User.
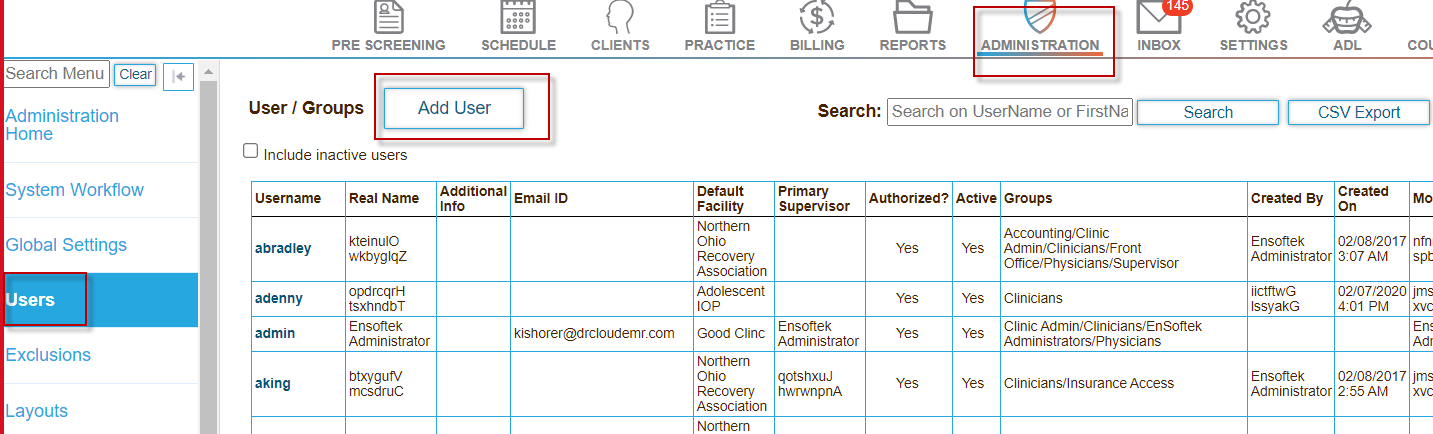
- To edit an existing user, click the user name in the table.
- To add a new user, click Add User.
- Click each tab and provide the relevant details.
- To enable the user to access the system:
- Click the Access tab, and then enter the username and password the user uses to log in to the application.
- Select the ACL groups to assign the user to in the Access Control field.
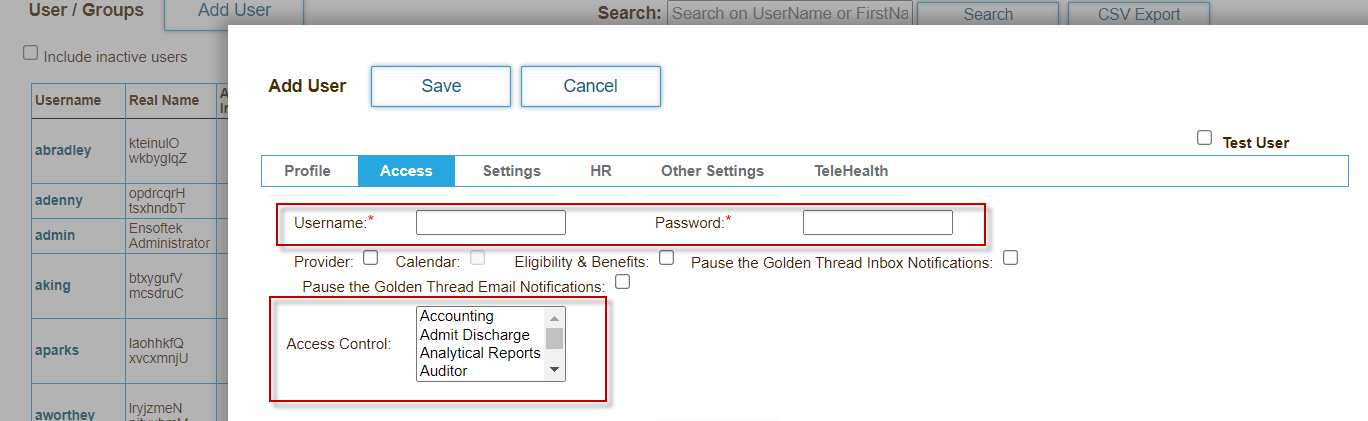
- To authorize the user as a provider:
- Click the Access tab, and then select the Provider checkbox.
- Click the Profile tab, and then enter the UPIN and Federal Tax ID in the Profile tab.
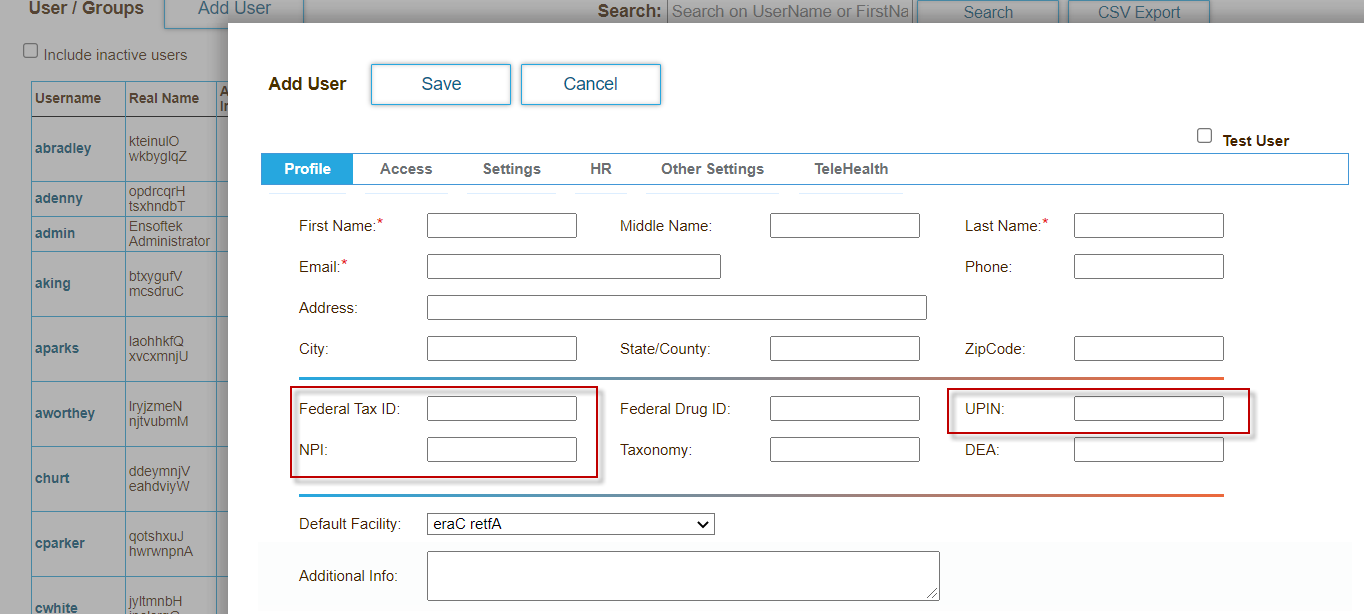
Authorized providers appear in the appointment calendar, billing, encounters, and other relevant areas of the system.
- Click Save to save the new user.
Managing User Access
You use ACLs and other access properties to control what users can or cannot do in the application.
- Click the Administration tab.
- Click Users in the left-hand navigation bar.
- Click the user's username.
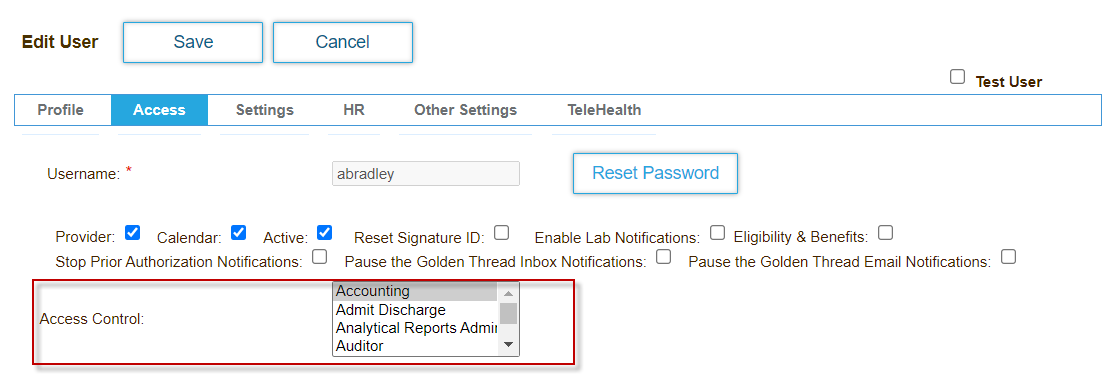
- Click the Access tab in the Edit User window.
- Click the ACL groups to assign the user to in the Access Control field.
- Click the facilities or programs in which the user can create encounters, view clinical data, and perform similar tasks in the Accessible Facilities field.
- Click the facilities or programs in which the user can view admission details in the Admit History Accessible Facilities field. A user with only this property assigned cannot create create encounters, view clinical data, and perform similar tasks in the selected facilities or programs.
Create User Groups
You can create user groups to manage group operations, such as adding users to access control lists (ACLs) or sending notifications.
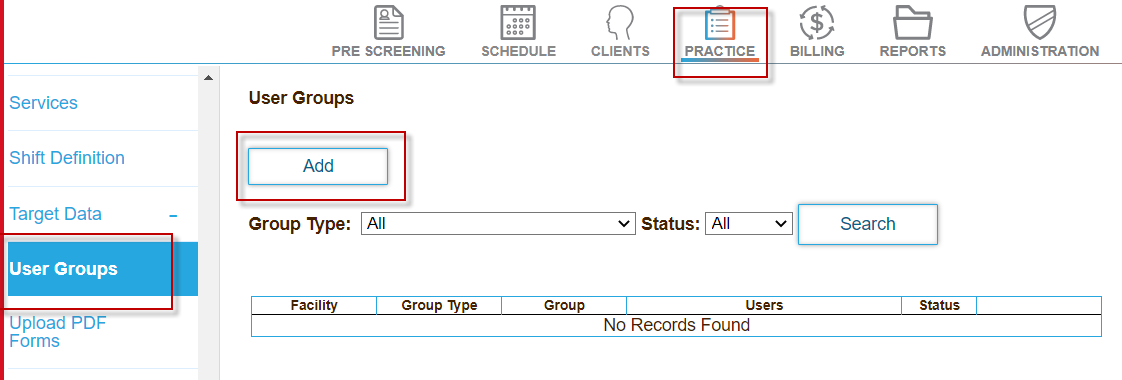
- Click the Practice tab.
- Click the Administrative tab, and then click User Groups.
- Click Add.
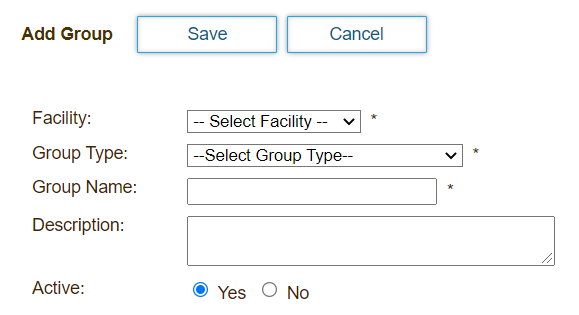
- Select the facility containing the users.
- Select the group type.
- Enter a name and description, and then click Save.
- Click Add Users or Add External Users, and then select the users to add to the group.
- Click Save.
Exclude Users from Viewing Patient Data
You can prevent specific providers from being able to access a specific patient's information. This feature is useful if you need to hide treatment details for highly personal issues.
- Click the Administration tab, and then click Exclusions in the left hand navigation bar.
- Enter the name of the patient whose data you want to hide in the Patient field.
- Select the provider's name from the User drop down list.
If you want to hide the patient information from all DrCloudEHR users, select the [Select all] option.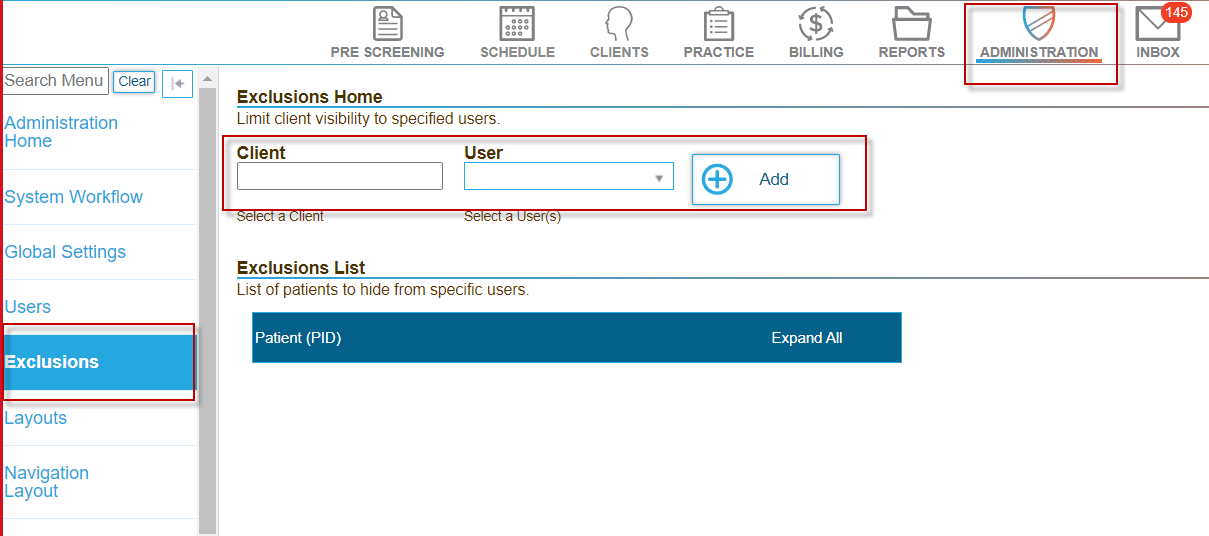
- Click Add.
The patient's information is hidden from the provider, and the patient appears in the Exclusion List.
Reset a User's eSignature ID
You can prompt a user to change their eSignature ID, which is the password the user uses with the eSignature feature. When you configure the system to prompt a user to change their ID, two text fields where the users specifies the new ID appear when the user clicks the Settings tab, and then clicks the Change eSignature Pwd tab.
- Click the Administration tab.
- Click Users n the left navigation bar.
- Click the user in the Username column.
- Click the Access tab.
- Select the Reset Signature ID checkbox.
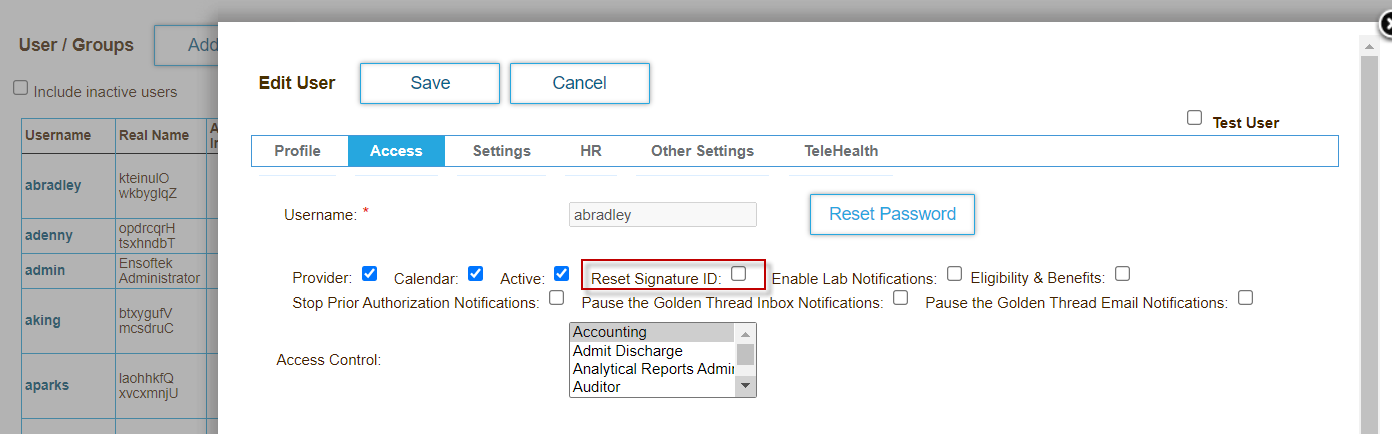
- Click Save.
Overview
Content Tools
Activity